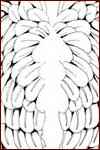
The original black and white
design. |
|
Pencil roughs to show basic colour.
|
|
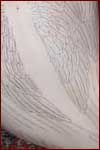
The inking on the right side, showing the pattern. |
|
Claudia working with the tattoo gun.
|
|
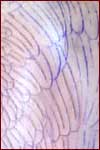
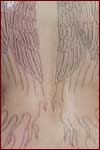
The healed right wing outline. |
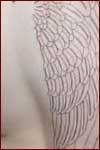
Outline complete, but still red. |
|
The complete healed outline. |
|
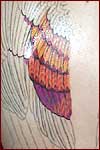
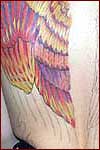
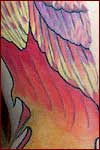
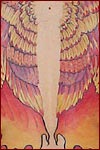
The first colour near the center of the back. |
|
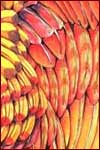
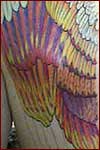
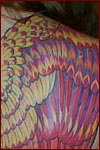
Closeup shot of the feathers. |
|
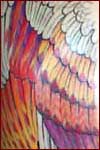
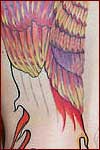
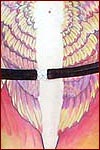
A wider band begins to stretch across. |